3D Printing: Getting Started
Today's post is about all 3D printing. It's a field I've been interested in for sometime but due to the high upfront cost of time (and potentially money), I'm just now getting around to investing some time into it. As the number of Raspberry Pis sitting on my desk has steadily increased, I've been meaning to get some sort of rack to store them, which seemed like a perfect project to use as a test case for my modeling.
Selecting a Software
A couple of takeaways I had after researching 3D printing CAD/modeling software are:
-
No matter what you choose there is going to be a significant amount of initial investment in learning the software itself. Given the complexity required to build 3D models, it's almost impossible to build a truly intuitive interface. Once you put in the time it becomes easier as you go, but you'll have to bite the bullet to start.
-
They can be very expensive. There were several with licensing/subscription costs in excess of $500. Fortunately there are usually free versions (maybe without all the bells and whistles), but if you are looking to get the top of the line, it can quickly become very pricey.
As I was vetting programs, I had three basic requirements: function, price, and longevity. Basically I wanted something that was cheap (or better yet free) that would allow me to start building as a novice without running functionality issues as my skills advance. Finally, given the amount of effort required to learn the software, I wanted to pick a product that will (hopefully) be around for a while. In the end I settled on AutoDesk's Fusion 360. It's normally several hundred a year but they have a slightly limited hobbyist option for free. It has way more features than I'll ever use, and given AutoDesk's current prominence in the 3D printing community my hope is that it will be around for a while.
Getting Started
I'll admit, once I downloaded the software I tried to just jump right in and start building stuff. I haven't really played around on a CAD program in years (though I loved building imaginary cities in Google Sketchup as a kid), and it took all of about 2 minutes before I got frustrated at my inability to get anything done.
Thank goodness for Youtube.
I did a very brief search and found a 30-day course by Kevin Kennedy on learning Fusion 360. Each lesson was only 15-25 minutes long, but by the end of day 4 I felt like I'd learned enough about the software to give it a try on my own.
During those first 4 days, the class essentially covered a lot of the 3D printing basics, including commands like extrude, loft, fillet, spline, shell, and threading -- all of which were new to me. I'm definitely planning to continue the course as I'm sure there are plenty of more efficient and powerful ways of using the tools at my disposal.
Building the Pi Server Rack
I didn't want to get too crazy with my first attempt, so the design was pretty straightforward.
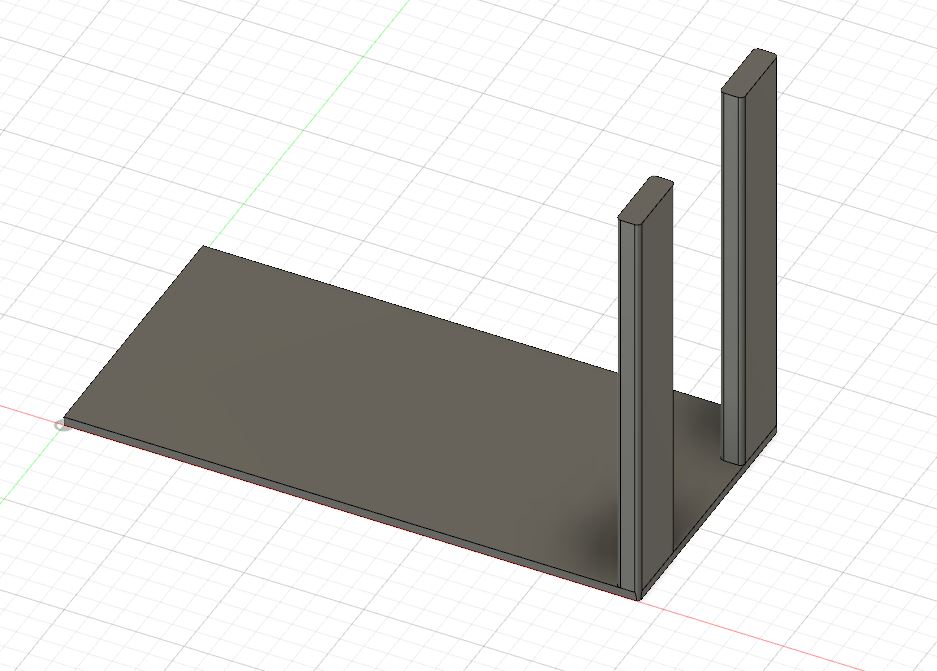
First, I created a a solid back which would serve as the surface on which all the rest of the rack would be built.

Next, I added some solid support legs to stabilize it on whatever surface it is mounted on - since I'm planning to put it on my desk I figured that I would probably use something like command strips to fix it in place. I went ahead and rounded most of the edges using the fillet command both to practice my skills and because I thought it looked nice.
Now it was time to build the actual Pi-holder portion of the rack. Using this diagram of the RPi dimensions
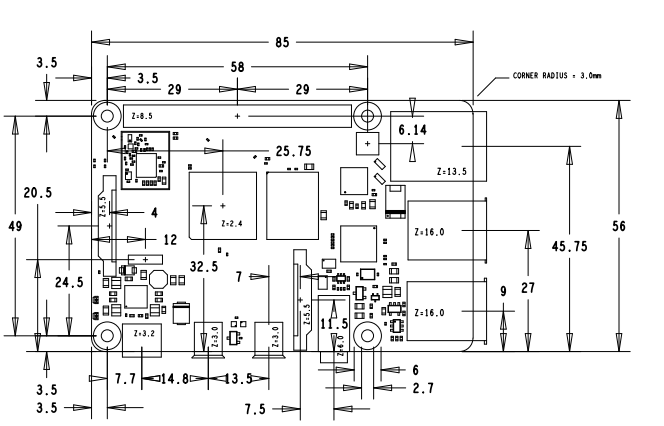
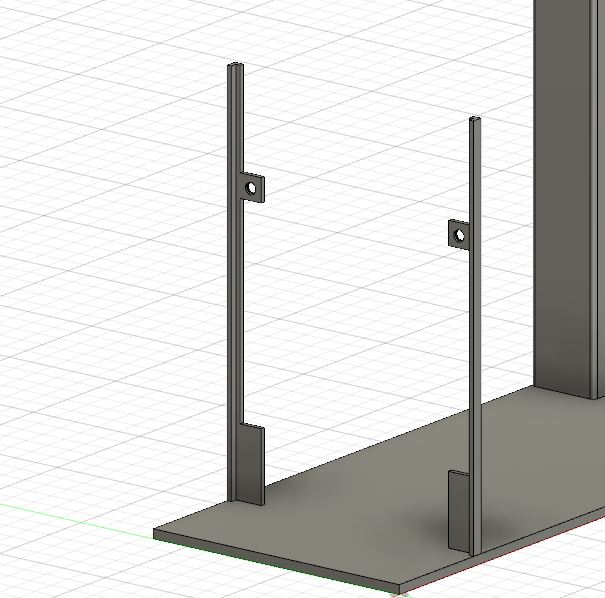
I created mirrored arm holders that will hopefully hold the Pi in place without blocking access to any of its ports. Again, using the dimensions listed above I created screw-holes for the rear screw attachments on the Pi. I didn't particularly feel it was necessary to create holes for all four screws given that this was a prototype and I wanted to see how the threading command worked out in reality - especially on such a small hole.
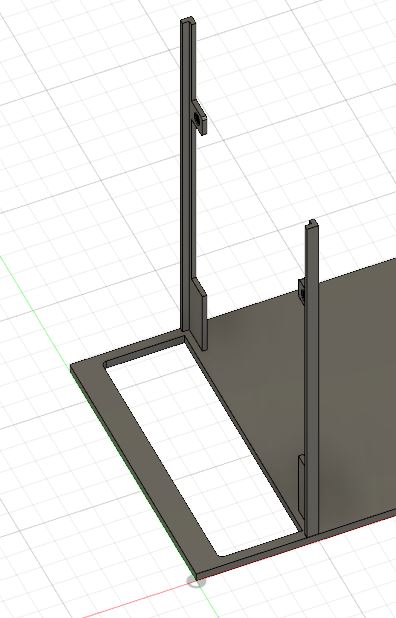
In order to access the ethernet and USB ports, I created a large opening in the main portion of the case.
Now comes the power of the CAD software - using the rectangular create command, I just duplicated this setup twice more on the board to create a rack capable of holding 3 Pis.
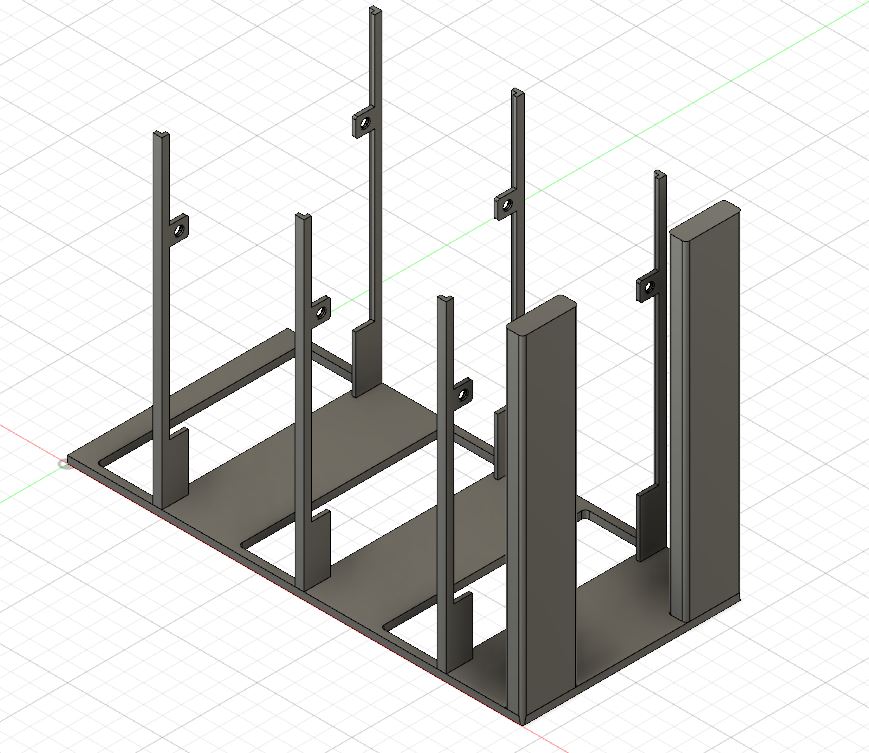
Whew - almost done. Finally, given the very thin nature of the support arms, I figured it was probably a good idea to create some kind of reinforcements for them. I sketched support rectangles on the end of each arm and then connected them using the loft command. Voila - support arms done.

I went around and added a few fillets here and there but at this stage I was willing to declare victory.
Off to the Printer's With Ye!
As I mentioned previously, 3D printing can rapidly turn into a very expensive hobby. Even the low-end at-home printers will run you at least a few hundred bucks, which can quickly turn into thousands as you start to look at higher priced models. Fortunately, there are companies out there who recognize the desires of hobbyists like myself and will allow you to use their printers as a service. There are a number out there but the business model is essentially the same - you upload your design file, select the building material, and then receive a quote on how much it will cost to ship it to your home.
I used CraftCloud and the experience was seamless. I was impressed by the number of different materials they had (anyone want a sterling silver Pi Rack? Only a few thousand dollars!) and the cost itself was very affordable ($5 to print my design and another $5 to ship it). Granted, I picked the cheapest material available (PLA) but all in I spent $10.66 with a delivery time of 9-16 business days (not great when you're accustomed to Amazon but I'm not in any rush). There were expedited options but they were 4-5x the cost.
One thing that gave me pause as I was going through this process was the listed error margin of .3mm. From an absolute perspective that's pretty slim but I was thinking about all the 1mm aspects of my design and that certainly didn't give me a lot of assurance. Nothing to be done but hold my breath and hope...
Two Weeks Later And...
Well, here it is.
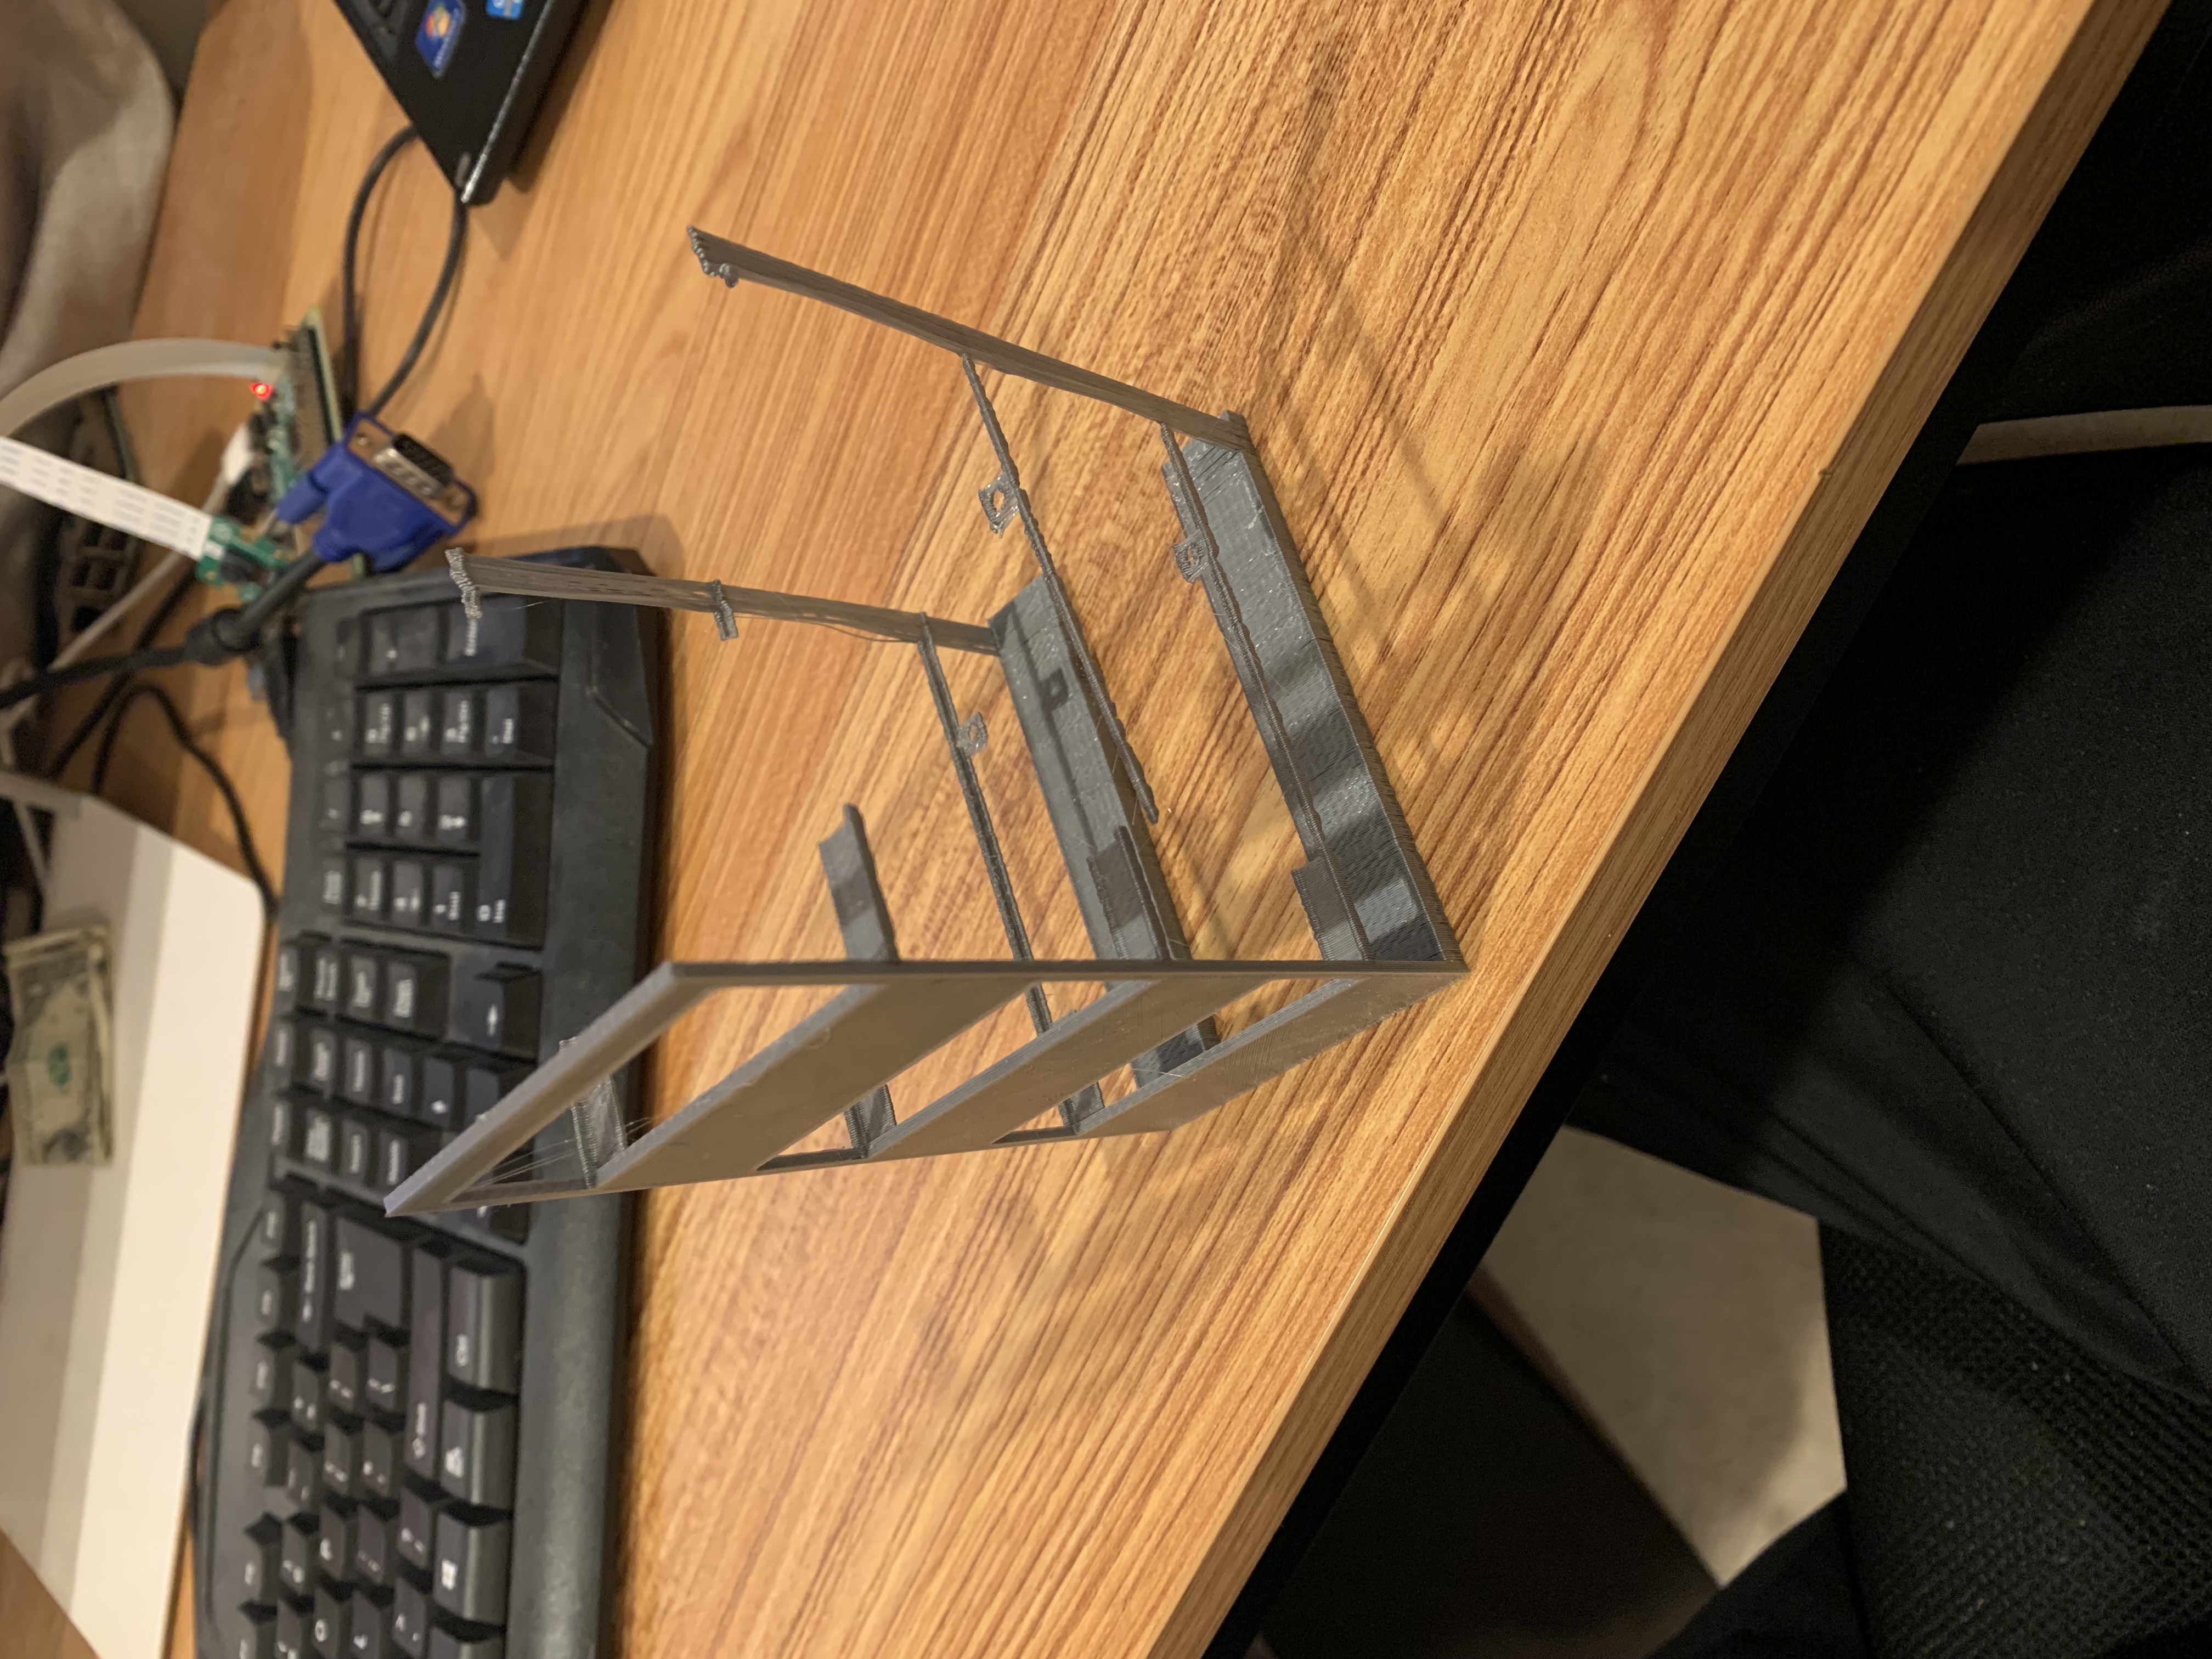
I'd give myself a B- on the whole (it looked a little better at the start - this was after a bit of rough handling). It looks (more or less) like what my design did. That being said, I feel like I learned some valuable lessons.
Lessons Learned
First, you have to think like a 3D printer does. Imagine the little printing arm moving back and forth. At the base of the structure, it will be really precise and solid. As you build up though, especially for spindly elements like the arms of the, it becomes more and more tenuous. I can't stress this enough. The orientation of your design also matters tremendously for this reason. I kind of had an inkling that this would happen - especially given how many designs on the internet are split up into multiple different files.
Second: measure twice, cut once. I accidentially flipped the location of the support screw holes for the Pi. Simple mistake but it underscores the importance of having your design proofed before you let 'er rip.
Third, the margins were definitely too small. Maybe some day entry level 3D printers will be able to fabricate margins of < 3mm reliably, but this is not that day. Granted, it's not horrible but definitely weak (due in part to the first point).
In the end though I had a lot of fun learning how to do it and gained some valuable experience in the process. Happy printing!